The method
A steady angle. A simple rolling motion.
Understand the magnetic base, the abrasive roller, and the checks to make before a blade meets the tool.
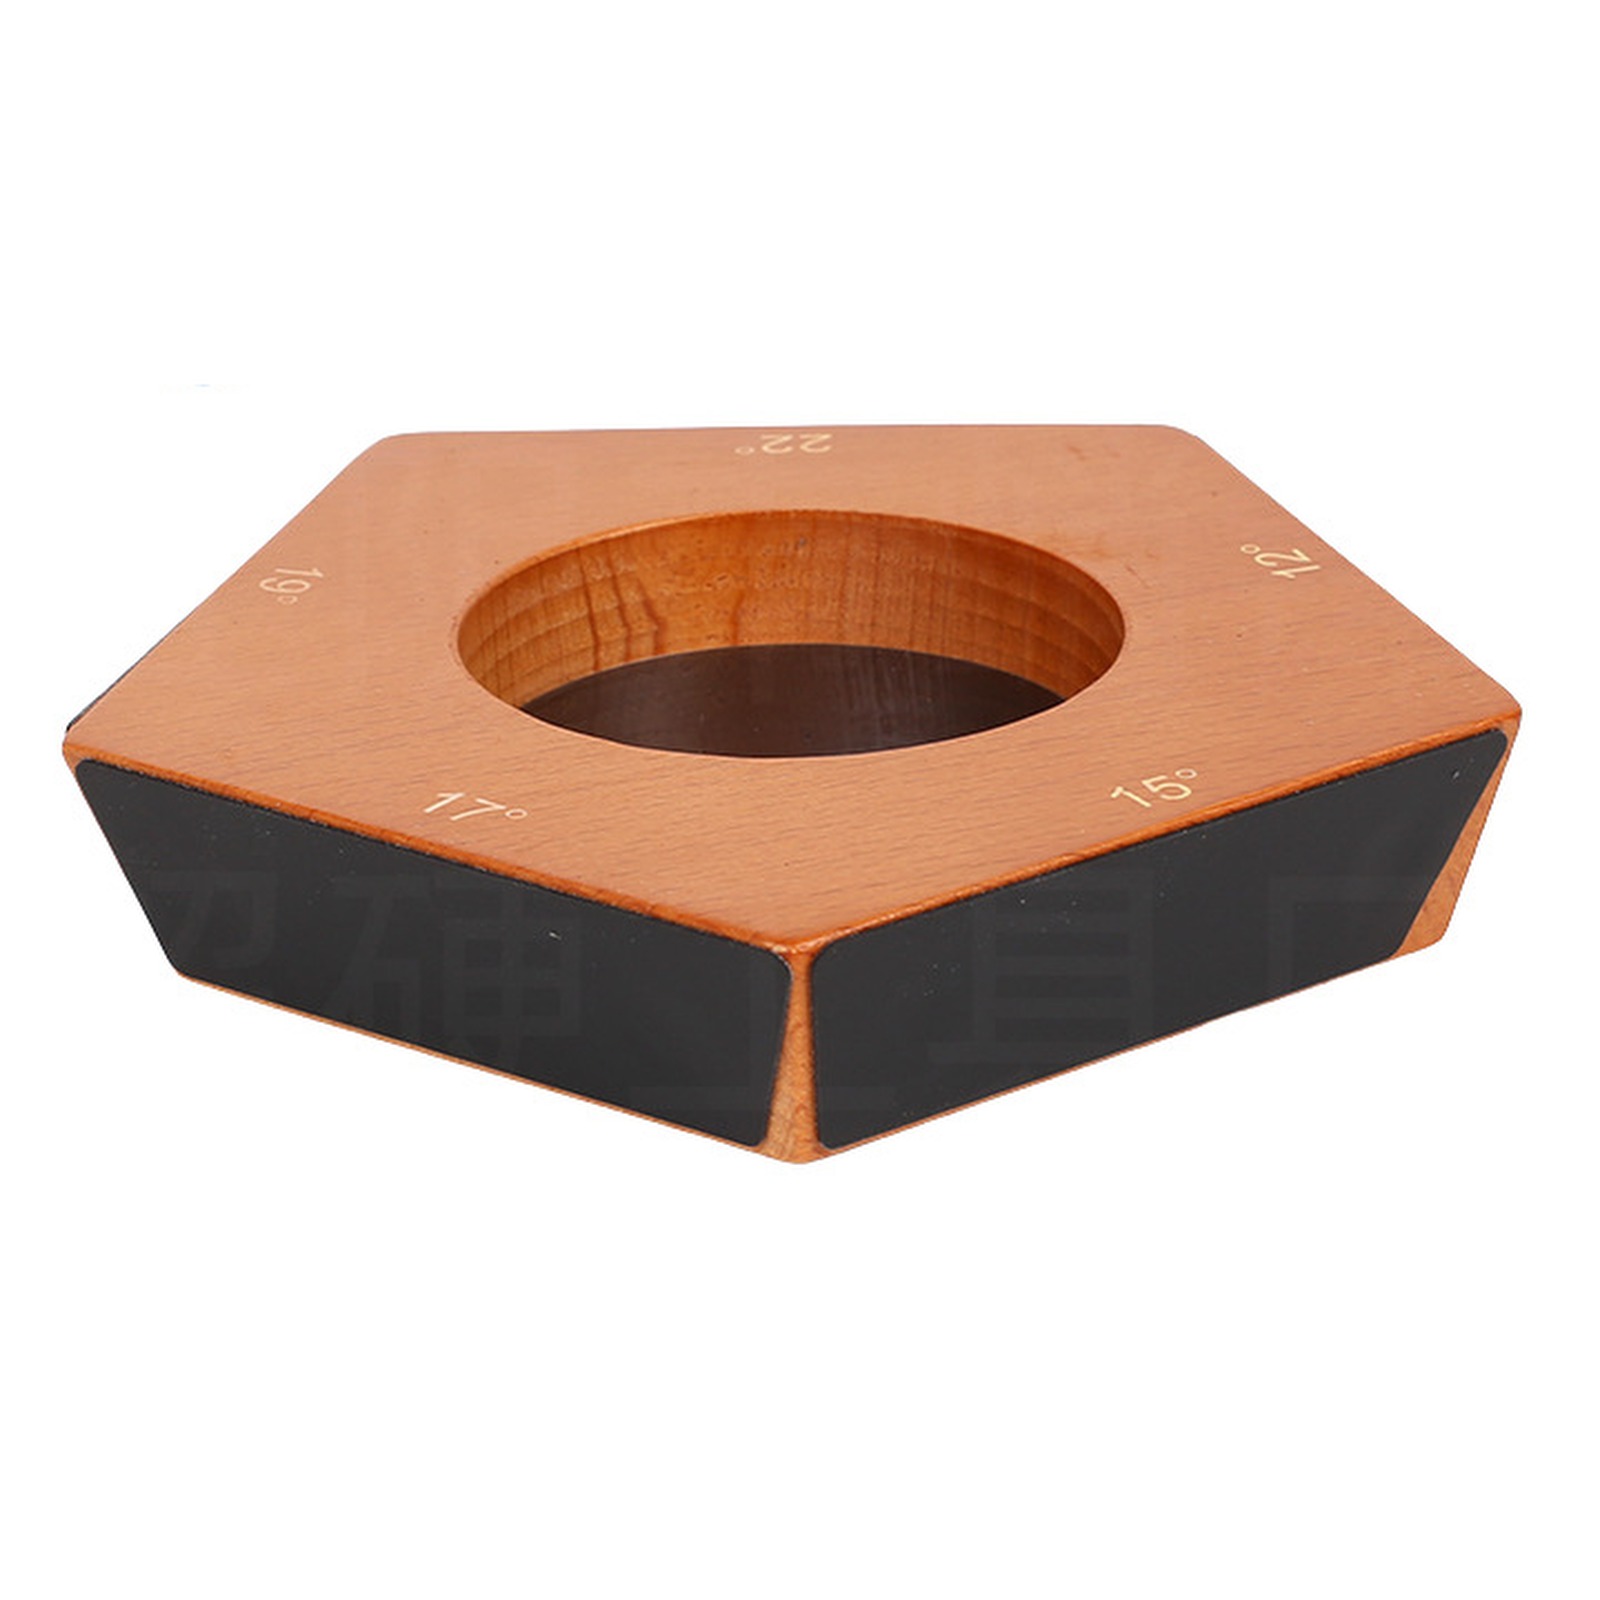
The base sets the angle
A rolling knife sharpener separates two jobs. The magnetic angle base supports the flat of a compatible blade; the rolling abrasive works along the edge. This helps repeat an angle without holding it entirely freehand.
A magnet is a support, not a guarantee that every blade will stay put. Blade height, thickness, shape, magnetic steel, and the tool’s geometry all affect fit. Read the tool instructions and knife maker’s guidance before starting.
The roller removes metal
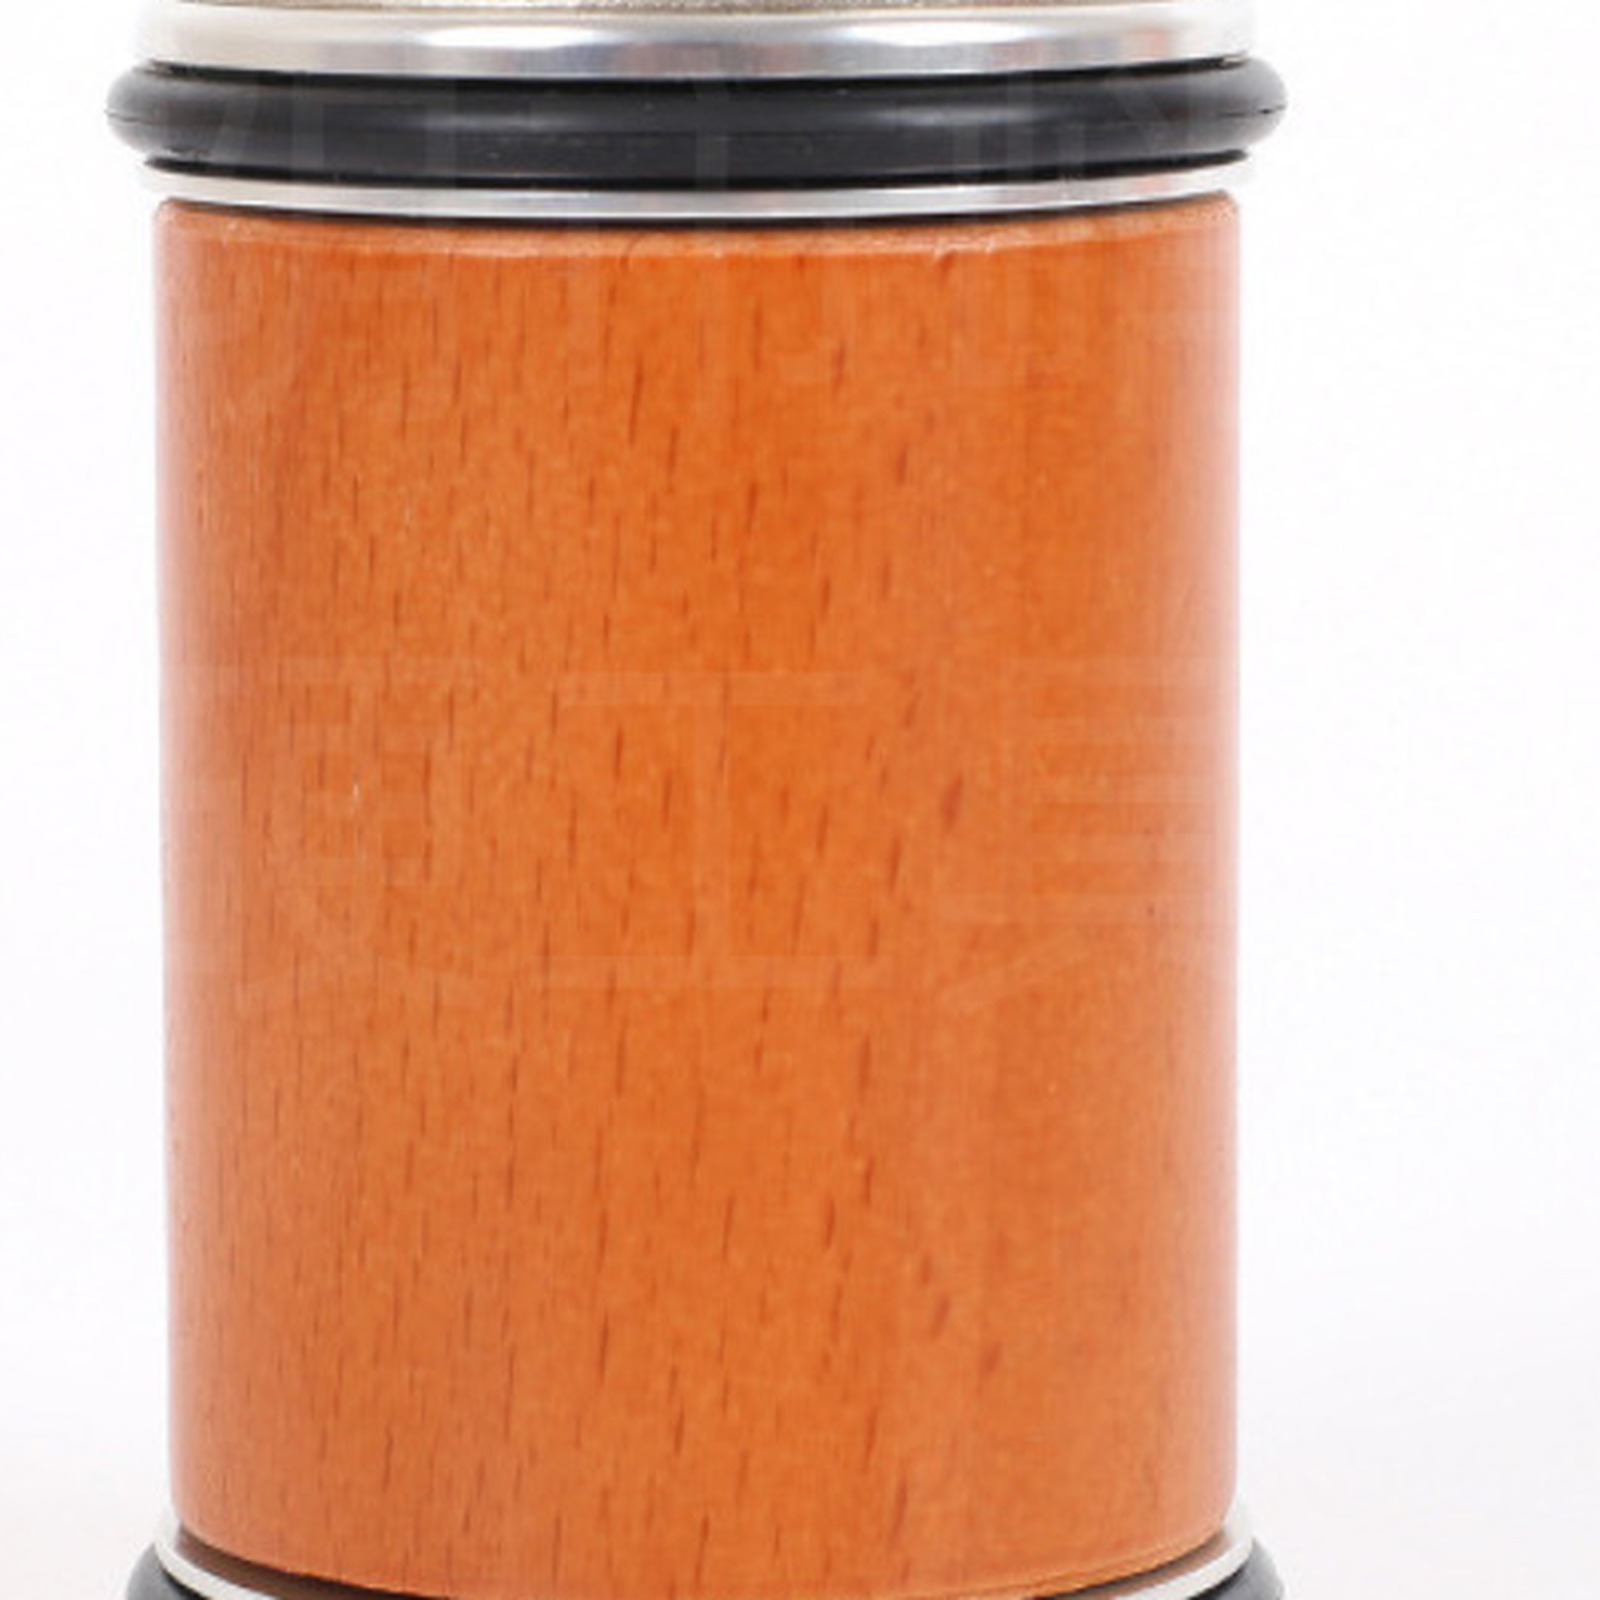
The abrasive face contacts the bevel as the cylinder rolls across a stable work surface. Sharpening removes steel to form the edge. It differs from honing, which may realign or refine an existing edge depending on the honing tool.
A coarser abrasive generally removes material faster; a finer one refines the scratches left behind. The EdgeRoll abrasives are marked 400# and 1000#, approximately 400 grit for sharpening and 1000 grit for a finer finish. These are nominal grades, not independently certified measurements.
Let a steady setup do the work. More pressure is not a shortcut to a better edge.
Start with a compatible blade and a clear surface
Use a dry, stable work surface with room to move the roller. Keep children and distractions away. Check that a plain, double-bevel magnetic steel blade sits securely, with the edge accessible to the abrasive and fingers clear of its path. Stop if the setup rocks, slips, or cannot reach the edge evenly.
Ceramic blades, serrated knives, scissors, and single-bevel knives need a different approach. Very narrow blades, tall blades, curved tips, or damaged edges may not fit this method. Do not improvise risers or force a poor fit.
Work lightly, then check progress
Choose a position that matches the knife maker’s recommended angle. Move the roller with light, controlled pressure, following the tool instructions for direction and access to each side. Work both bevels as appropriate for the knife. There is no universal number of passes: steel, wear, and the existing bevel change the work needed.
Finish according to the approved abrasive sequence and burr-removal instructions. Do not check an edge by sliding a fingertip along it. If you cannot form a consistent edge, stop and ask a professional sharpener rather than removing more material.
Clean up before the next meal
Sharpening leaves fine metal and abrasive dust. Clean and dry the knife separately according to its maker’s instructions before food preparation. Brush the set gently and store it dry. Read our care guide for the routine between sessions, and angle basics before choosing a position.
General knife-care guidance. Follow your knife maker’s recommendations and the tool instructions. Check blade fit before sharpening and clean your knife before preparing food.
Keep reading